A closet is often build to serve a specific purpose. It helps in keeping your house neat and organized. Closets or wardrobes often come in two forms namely; a walk-in or reach-in wardrobe. Walk-in closets allow you to actually walk inside of it and be able to turn and walk out. On the other hand, reach-in wardrobes only allows you to stand in front of it and reach for the items you want.
Understanding your needs
Before you decide to make one, it is important to know what you really want. Sometimes it happens that your closet becomes smaller as time goes by. However, finding space to build another wardrobe can prove to be a real challenge.
If you have decided to add another closet, there are certain things and measurements to consider:
- Single wardrobe rods are often placed between 64 and 68 inches away from the door whereas, in a double door, rods are placed at 38 and 76 inches above the door
- Wall wardrobes are framed with 2x4 lumber. The finished dimension is 4-1/2 after the sheetrock
- Adult clothing on hunger requires a minimum of 27 inches apart.
- If you are building a walk-in one its doors should be 24 inches wide – although a 28-30 is considered comfortable.
The price of setting it up normally depends on the features and size. However, according to experts, homeowners can spend anything between $1,000 and $2,000 for new wardrobes
Getting started
Additionally, a wardrobe usually needs only the framing of one or two walls since you will be able to make use of the existing walls in the room as much as possible. The following are the steps to follow:
- Check with a local building department – it is important to get a licensed electrician even if you don’t require a permit in case you want to include lighting in the closest.
- Develop a plan – use a grid paper usually 1/4” scale with specific dimensions. This will serve as your blueprint.
- Have specialized storage – Tall shelving, cubbies for shoes, built-in cabinets, a tilt-door hamper, specialty racks, and a pull-down rod are some of the things you should include.
- Put all the tools you will require in one place. They include a power drill, framing hammer, circular or miter saw, metal tape measure, marking pencil, a framing square, and a four-foot level.
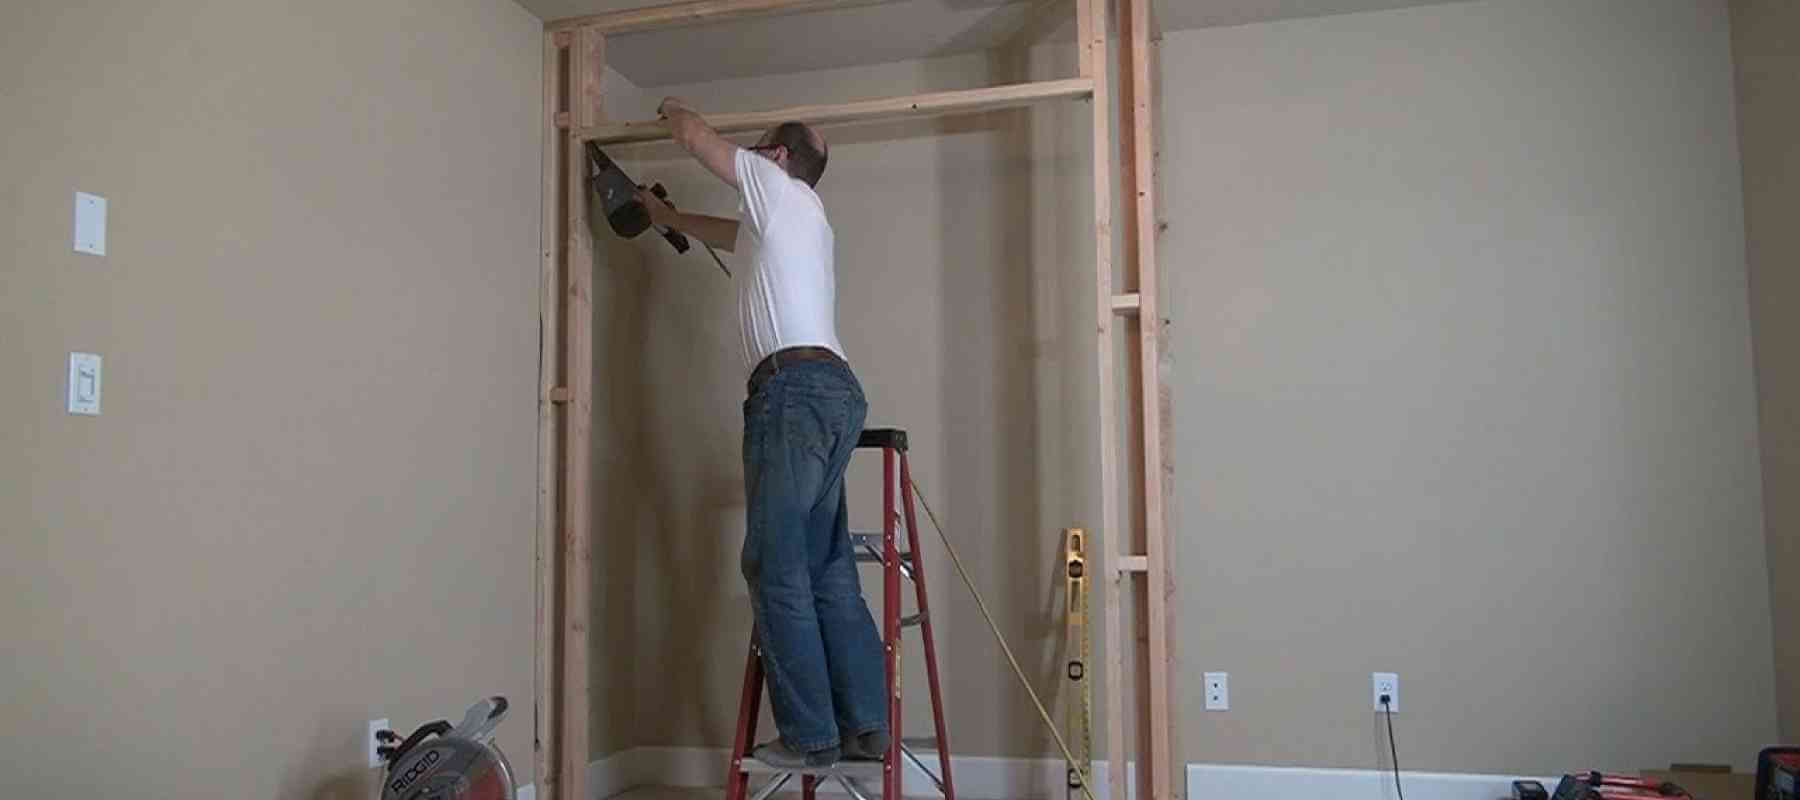
Framing and finishing
- Lay out the wall(s) as per the plan – find the position of each wall and mark them. Remove existing flooring particularly if its carpet or tile for precise measurements.
- Frame the wall - The best and easy way if to build the wall on the floor. Frame it at 1/1 to ½ inches shorter than the ceiling height.
- Add bracing or run electricity – your electrician will drill the studs and put boxes for switches.
- Hang sheetrock or paneling – Align 4x8 sheets for seams fall in the middle of the stud. You can then use the power drill to screw the sheetrock.
- Install the door(s) and hardware - You will require shims of a level 3-1/2” wood screws as well as a power screw to align and secure the frames. Please follow instructions from the manufacturer to install the top and bottom glides and tracks.
- Finally, install the rods and shelves.